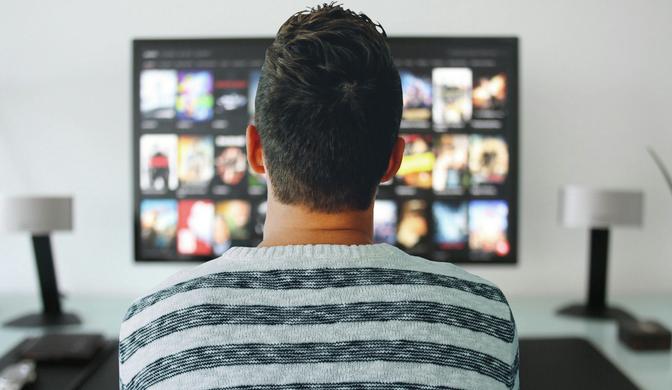
Media player: Raspberry PI + LibreELEC

Recently I was looking for a cheap way to easily watch my workout DVDs. I use them every week, but it’s annoying to change media everytime I do sports. The solution had to be quick & easy, and I already own a Raspberry PI…
Hardware
To build the media player, I used the following hardware.
Required (or at least recommended)
| Product | Notes |
|---|---|
| Raspberry PI | Raspberry PI 3 or newer is recommended, because it supports Wifi |
| Anker PowerPort USB-C | There are loads of cheap low quality power supplies - prevent going too cheap, I’ve had good experiences with Anker, so I had one of these |
| Transcend MicroSD | Every other microSD should work (e.g. Evo Plus microSD ), but I had one of these left |
Optional but helpful
The following hardware is optional, but I found it helpful:
| Product | Notes |
|---|---|
| Raspberry Case | Here is a case, if you need one - this one was also already in my bucket. |
| Multi USB cable | If you don’t have a USB cable, you might checkout this - pretty useful to have a multi one |
| USB Power Switch | A generic switch for USB Power - I had one of these lying around, but I found it pretty useful |
| Logitech K400 Plus | Not required, but it might be useful to have a real keyboard |
| If you do not own a microSD reader, here is a cheap one that also supports booting from |
There are a lot of alternatives for additional Hardware, that might be nice to have, but if you already own a Raspberry PI , you probably do not need to buy anything.
Feature list
After setting up, the Raspberry PI will have the following features:
- Kodi
- with all the bells and whistles of LibreELEC
- Support for nearly any media format including Pictures, Audio and Video ( including Workout DVD ISO files ;-)
- CEC
- control your media pc by using your TV remote through HDMI, if your TV supports it
- So you don’t need an extra remote… yay
- Samba shares - to copy your files to the system
- SSH - to perform administrative tasks, like changing Samba config, etc. (default-user:
root, password:libreelec) - Auto updates
- Backup and Restore
- Weather-App (that must not be missing ;-)
Basic setup
- Download and install LibreELEC
- Open Downloads on the projects website
- Download the installer tool
- Insert your microSD card
- Let the installer tool download and copy the appropriate image to your card
- Insert your microSD card into your Raspberry PI
- Boot into LibreELEC
and follow the instructions of the Wizard
- Select your language - Next
- Choose your hostname - Next
- Connect your Networking / Wi-Fi - Next
- Enable SSH and Samba - Next
- Finish with Next
First test
Assuming that your box is connected to a TV via HDMI, has an IP address (e.g. 192.168.1.100) and Samba is enabled, you can now copy media files to your system.
- Just open
\\192.168.1.100(Windows) orsmb://192.168.1.100(others) - By default LibreELEC
provides shares for many things, just copy the testing file to
Videos - Now navigate to
Videosvia file browser and try to play back the file
If everything worked correctly, you should see your test video on the screen.
Creating a Video Library
Now it is time to rip my workout DVDs as ISO and copy them to the Samba share.
While Kodi is able to download Movie information from IMDB and store them into a local sqlite or MySQL database (including fan art, trailers, descriptions, actor lists and so on), there is a simple rule, that simplifies the process for Kodi when trying to Create a Video Library .
- Create a directory for each ISO file with its title and year (take the full IMDB title at best)
- e.g.
My Personal Workout (2010)/My Personal Workout (2010).iso
- e.g.
If your title is not available on IMDB, you can manually create nfo files to improve the appearance in the local database. An Additional nfo file My Personal Workout/My Personal Workout.nfo (Here is a little helper
) will force Kodi to not download new information. Example:
<?xml version="1.0" encoding="UTF-8" standalone="yes"?>
<movie>
  <title>My Personal Workout</title>
</movie>
Further adjustments
That is by far not the end… Kodi is so powerful, that it would go beyond the scope of this article. However, to give you some ideas, what is possible:
- Addming Network Storage (including Wake-On-Lan on Play )
- Smartphone control with Yatse
- Music
- Pictures
- Games and Emulators
- Streaming Plugins (to support YouTube, Netflix, Podcasts, Web radio etc.)
- DLNA, Airplay and other network services
Conclusion
I can now select my workout DVDs without having to change media. And as a bonus, I am able to stream YouTube fitness Videos or watch other streaming content.
It’s just awesome.
